Tired of dealing with complicated network monitoring setups? Say hello to Naemon! 🖥️ It’s like having your own network watchdog that keeps an eye on all your servers, switches, and other devices, your way! And guess what? It’s an open-source alternative to Nagios that you can easily run in Docker!
Ready to get Naemon up and running inside Docker using Ubuntu? Let’s keep it simple, no Docker Compose needed. We’ll pull an Ubuntu image, install Naemon manually, and even commit the container for later use with a custom tag. Follow along to get your own Naemon monitoring system going in no time!
🛠️ What You Need Before Start Step 1: Pull Ubuntu and Start the Docker Container 🐧
Before we start, make sure you’ve got:
- Docker and Docker Compose installed.
- A basic idea of how to use the command line (don’t worry, we’ll guide you!).
Step 1: Pull Ubuntu and Start the Docker Container 🐧
First things first, let’s pull the latest Ubuntu image and start an interactive Docker container.
- Create a new project folder:
docker run -it --name naemon -p 8080:80 ubuntu:latest
This command does the following:
-it: Runs the container in interactive mode (so you can type commands).
--name naemon: Names the container “naemon” for easy identification.
-p 8080:80: Maps port 80 of the container to port 8080 of your machine, so you can access Naemon’s web interface later.
ubuntu:latest: Pulls the latest Ubuntu image.
Step 2: Update Ubuntu and Install Required Packages
Now that you’re inside the container, update Ubuntu and install the required tools.
apt update
apt install curl lsb-release nano
curl and lsb-release: Needed for downloading files and identifying the Ubuntu version.
Nano for text editing
apt update: Refreshes the list of available packages.
Step 3: Install Naemon’s GPG Key 🔑
You’ll need to add the GPG key for Naemon to make sure everything you install is trusted.
curl -s -o /etc/apt/trusted.gpg.d/naemon.asc "https://build.opensuse.org/projects/home:naemon/signing_keys/download?kind=gpg"
This command downloads and stores the GPG key, so Naemon packages can be verified during installation.
Step 4: Add the Naemon Repository 📦
Next, let’s add Naemon’s repository so that you can install it easily:
echo "deb [signed-by=/etc/apt/trusted.gpg.d/naemon.asc] http://download.opensuse.org/repositories/home:/naemon/xUbuntu_$(lsb_release -rs)/ ./" >> /etc/apt/sources.list.d/naemon-stable.list
$(lsb_release -rs): Automatically inserts your Ubuntu version to get the correct packages for Naemon.
Step 5: Install Naemon 🎉
With the repository added, update your package list again and install Naemon.
apt-get update
apt install naemon
apt install naemon: This command installs Naemon and all its necessary components.
Step 6: Commit the Docker Container for Later Use 🔖
Now that you’ve set up Naemon inside the container, you don’t want to lose all that hard work. So, let’s commit the container to a new image and tag it for future use.
Exit the container (without stopping it):
exit
Commit the container and tag it:
docker commit naemon my-naemon:latest
docker commit naemon: Saves the current state of your running container
.my-naemon:latest: Names and tags the image as my-naemon, version latest, so you can use it later.
Step 7: Run the Tagged Container Later 🏃♂️
Whenever you want to start up Naemon again, you can use your committed image:
docker run -it --name my-naemon-instance -p 8080:80 my-naemon:latest
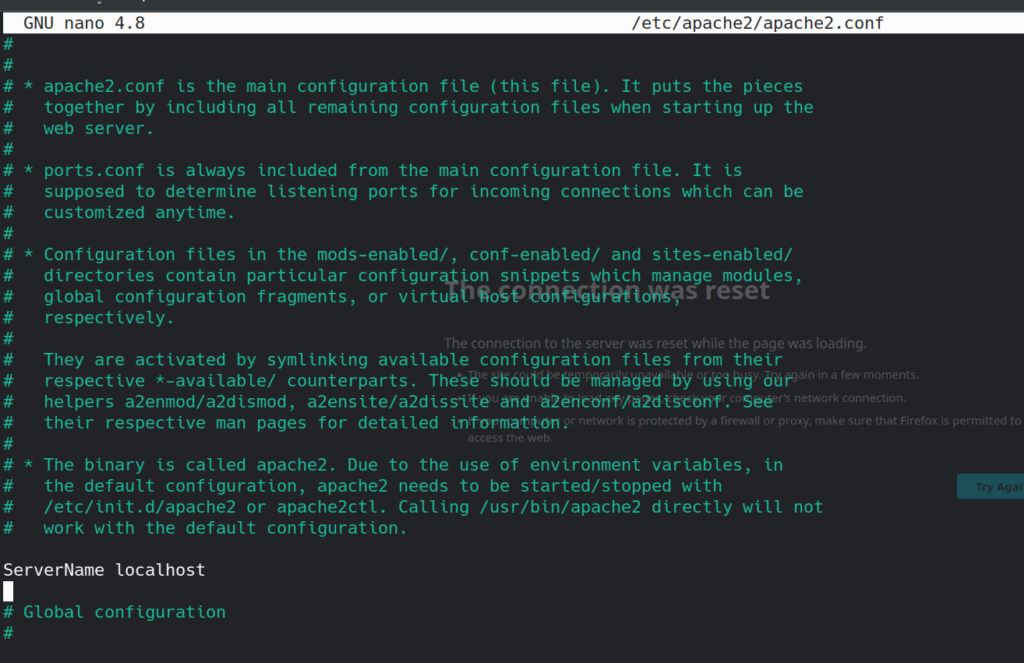
we need to do some changes in apache2
nano /etc/apache2/apache2.conf
Add the line ServerName localhost , and make sure no # keep it in empty line
save configuration by hitting Ctrl X , then press Y for approving changes and Enter to save to the same file name

Now check if Apache2 services are up by typing Below same for thruk

[bash]
service thruk start
service apache2 start
service naemon start
[/bash]
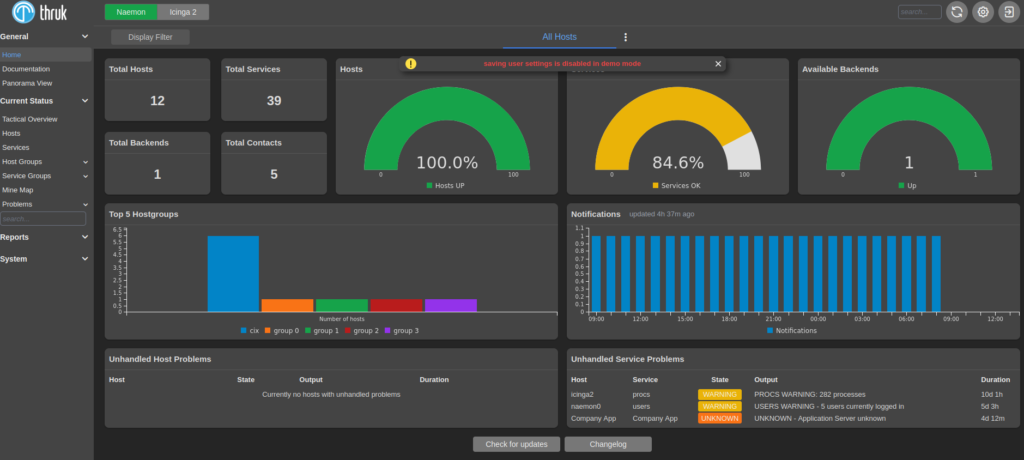
Now try to login to http://127.0.0.1:8080/thruk from localhost , user and password thrukadmin by default
Optional: Map a Config Folder for Persistent Data 🗂️
Add this simple configuration:
If you want to store your Naemon configuration outside of the container so you can edit it later, map a folder on your host system:
docker run -it --name naemon -p 80:8080 -v /path/on/host:/etc/naemon/conf.d ubuntu:latest
I will create config folder to save my config -v /config:/etc/naemon/conf.d: Maps a folder on your machine to Naemon’s configuration folder inside the container, making it easy to edit and persist the settings.
Lets try to access now the box , http://127.0.0.1:8080/thruk
Use thrukadmin for username and password
Welcome to best free monitoring tool

Conclusion
You’ve now set up Naemon inside an Ubuntu Docker container, and you’ve committed the container for later use. This is a simple and effective way to install and run Naemon without needing complex Docker Compose setups.
You can now monitor your network, servers, and devices the way you want, with Naemon running smoothly in a lightweight Docker environment!
Happy monitoring! 😄
Troubleshooting some issues
naemon not started
inside container
usermod -s /bin/bash naemon
then login to su – naemon
servcice naemon start
service naemon status


